In my last video journal, I jokingly stated that I would be in “mortal danger of becoming a lazy arse” if I hadn’t written anything by April. I managed to write two morearticles before I fell off the internet for four months. It seems the laziness got me. Make no mistake; I absolutely love producing content for my website. It’s just that laziness is a frequent mistress of overwork, and the first thing to go in my everyday life is my website, followed by exercise.
As I’ve written in the past, the summer offers me some more freedom to work on my website, hence my current presence. Completing this video has been a major feat, largely because I believe it is the first of its kind on the internet. This house originally spurred Player 2 and I to make a walkthrough because we were stuck on the boss for a time. We are ecstatic to share this resource with others and hope it helps others complete the game.
We have two more videos to go before we’re finished. I’m now eying November as our new deadline. This way, I technically meet my previous goal to finish by November, even if it’s no longer the same year.
Now that we’ve finished the intermediate houses, let’s take a look at the mini-bosses we fought along the way. Each of them dies just like every other monster: you only need to wrap around them. However, they each have defensive and offensive traits which makes eliminating them difficult. We’ll review them in order of difficulty, and I’ll estimate how many lives you may lose. If you’re still learning how to move with your partner, you may die more often.
4. TheAeromancer – Wind:
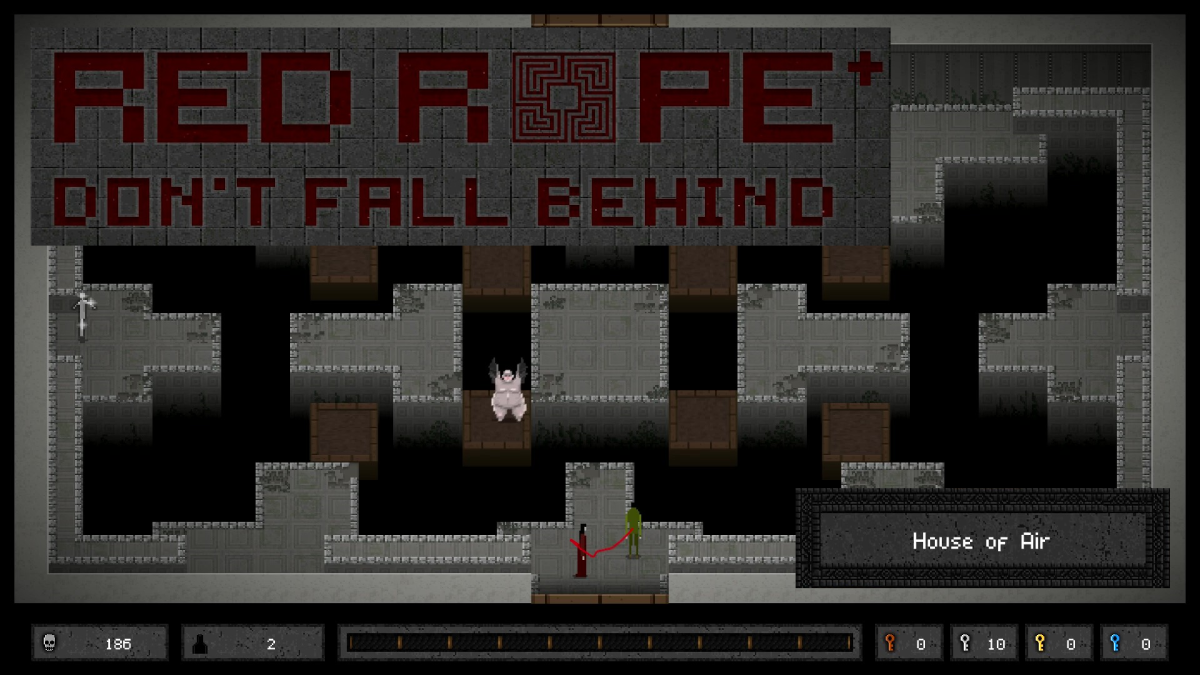
With bottomless pits on all sides, the Aeromancer’s room can appear daunting, but you’re going to focus on staying in the middle area. The boss will fly about the stage and land on a random pillar of solid ground. It will then blow in one of the cardinal directions, creating a wind which can push you into the bottomless pits. You only need to run against the wind in order to stay in place, and if you’re in the middle of the room, you’ll have ample space to maneuver. Wait until the Aeromancer lands to the direct left or right of you before you pursue it. This makes it so you need to move across only one set of moving platforms in order to kill it.
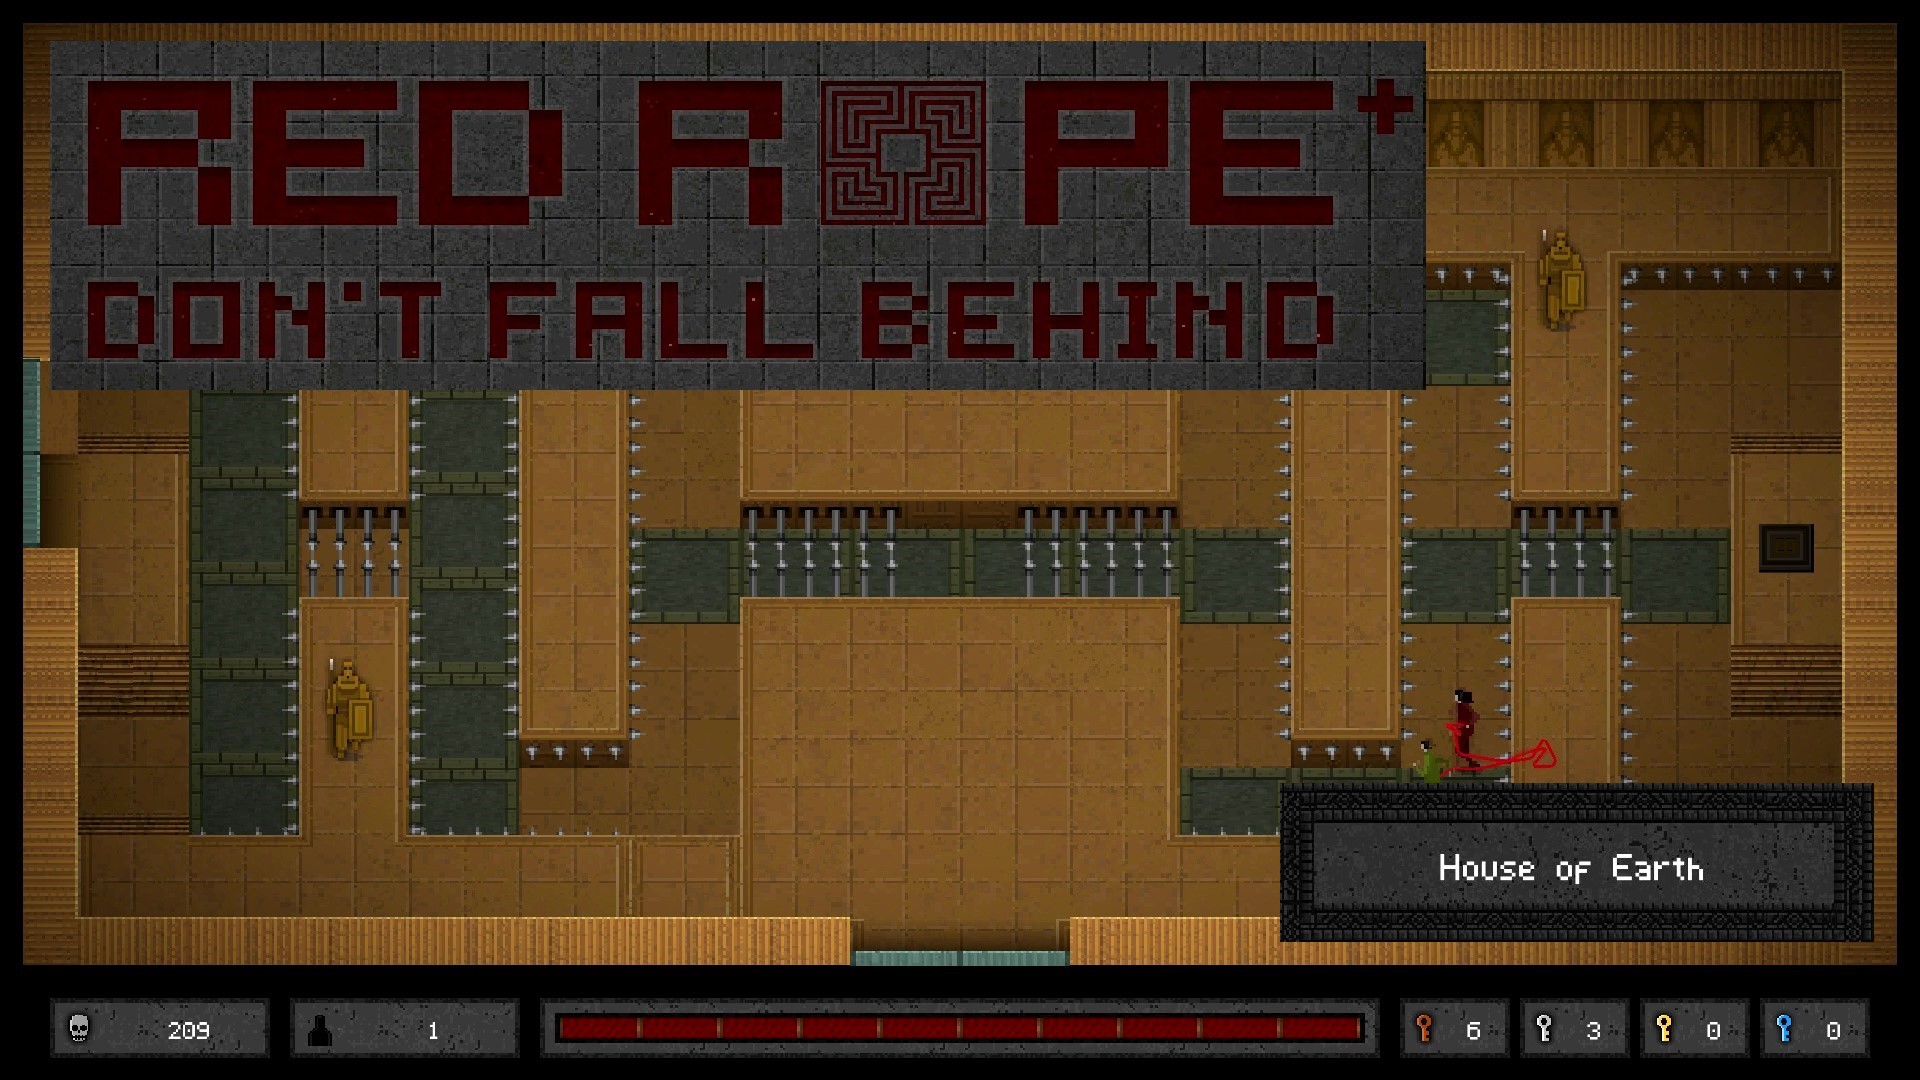
The Dowser is the only boss who won’t attack you directly. Instead, it summons a massive sand worm to pursue you. Given that the room is mostly made up of sand, you’ll have to evade the sand worm as you chase after the Dowser. The Dowser will teleport around the room at regular intervals or after a few seconds of you chasing it. It is smarter than the average enemy in how it runs away from you, and it will be easier to pincer him if you and your partner are spread apart from each other. When able, move across solid ground to ensure you aren’t too slowed down by the sand. The sand worm may be intimidating, but as long as you keep moving, it won’t be able to kill you. Once you kill the Dowser, the sandworm will die with it. I have not attempted to kill the sand worm, considering it requires a long rope to wrap around it.
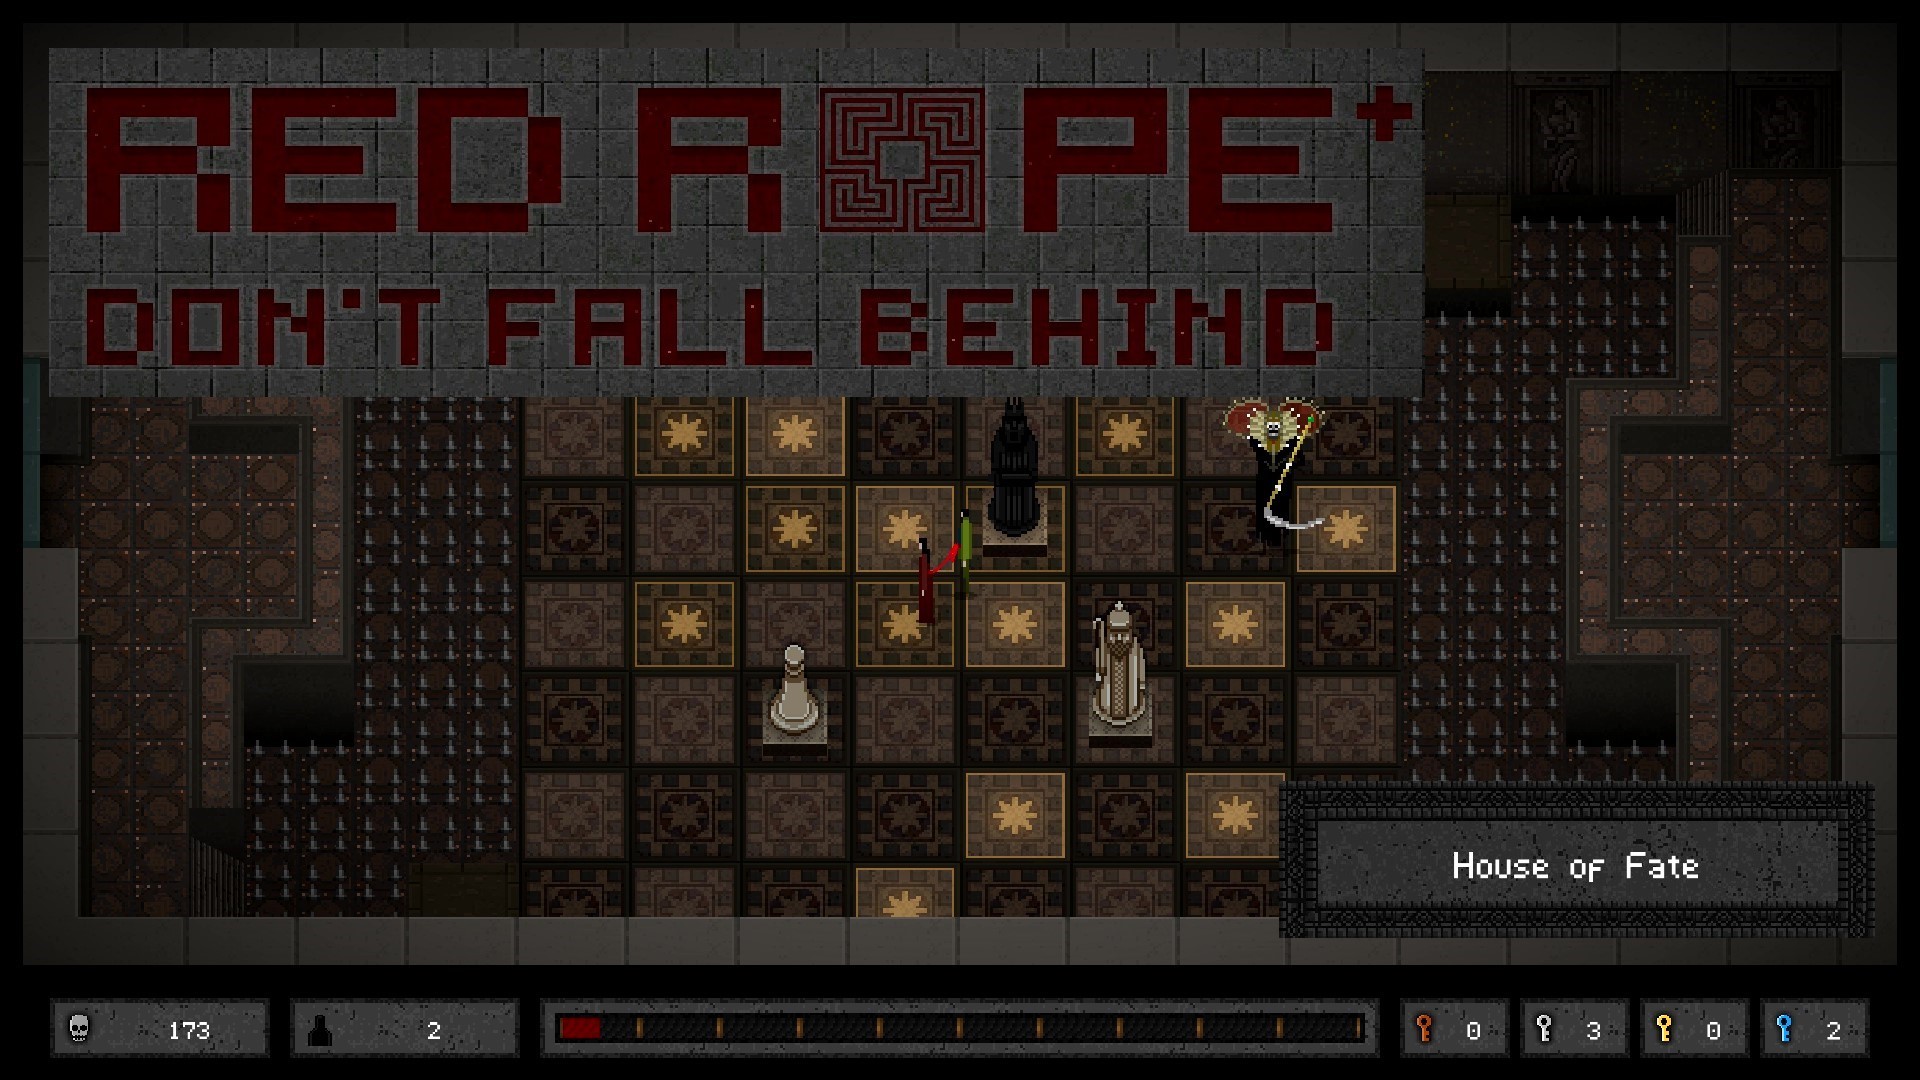
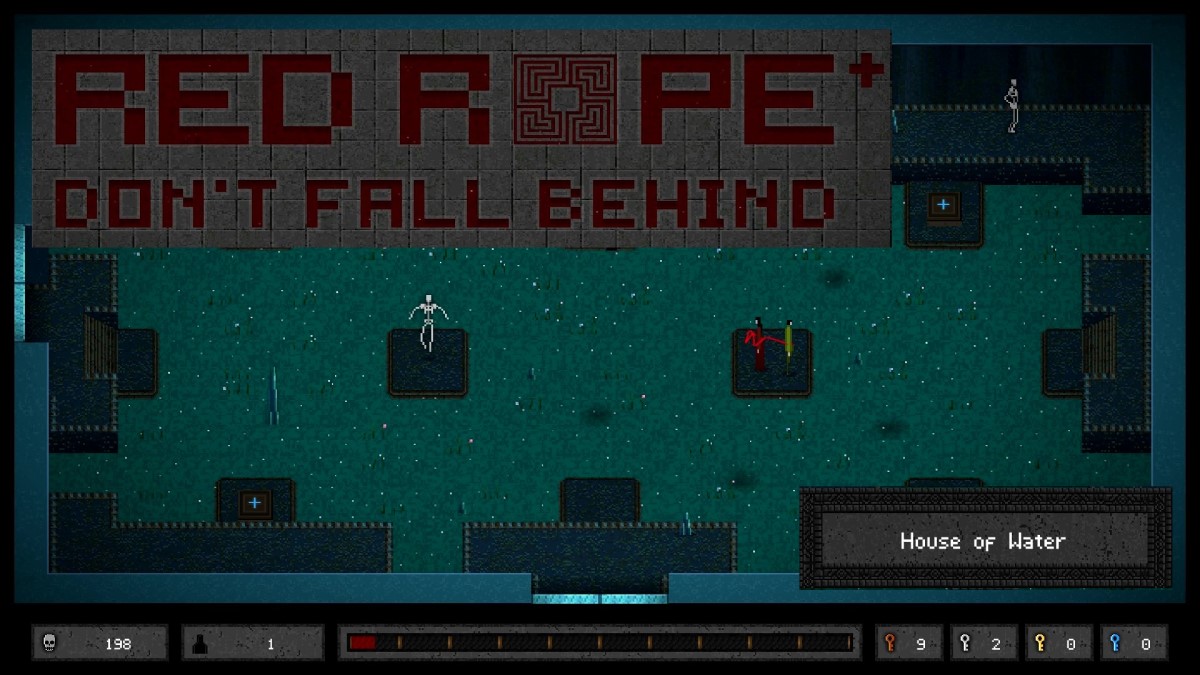
You have two Nereids to kill, and they remain invisible unless they’re using their special ability or are running from you. Their special ability allows them to rain ice chunks from above which will kill on contact. Watch for shadows on the ground to avoid these attacks. The battle, itself, will be more about dealing with the four frogs in the room while dodging the ice attacks. Hit the button in the middle to lower the water levels, kill the frogs, and then go after the Nereids. The Nereids can’t use their abilities if you’re chasing after them, and passing your rope over them will freeze them. Once they’re frozen, you only need to wrap around them to kill them.
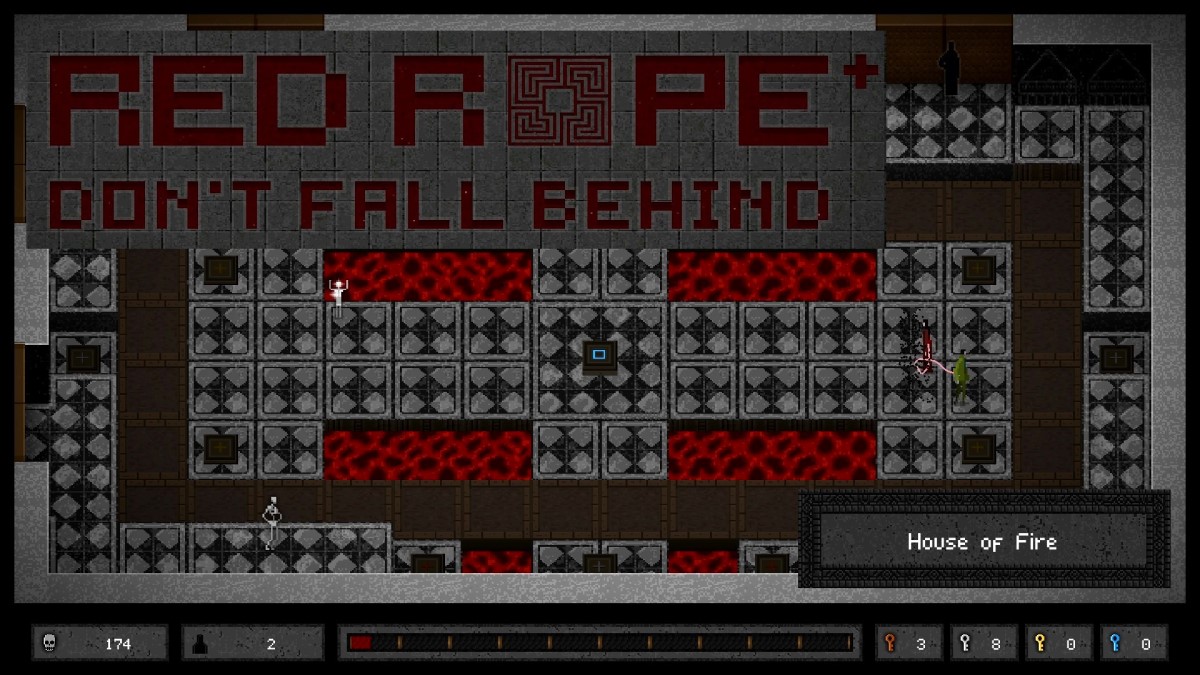
The Pyromancer will kill you the most easily due to its unpredictability and the instability of the crumbling platforms in the room. This boss will chase after you, pausing every few seconds to chuck two homing fireballs at you. Generally, it will throw two sets of fireballs before it extinguishes its fire armor (although it can also hurl a third set). If you try to kill it beforehand, it will burn through your rope. Once extinguished, you have about 8-10 seconds to rush in and kill it. I recommend you stay on one side of the room, looping around the Pyromancer while dodging its attacks. This way, you have less distance to cover when it does extinguish itself. Just be mindful of the crumbling platforms because they can sink quickly, cutting off your routes or killing you.
We’re close to getting through all of the intermediate houses, so let’s review what monsters we find in them. Each house had two new enemies apiece (with the exception of the House of Wind), excluding the mini-bosses.
Cotton Ball (Spore) – Wind: These puff balls float aimlessly about the stage and will home slightly toward you when you near it. Passing your rope over them will kill them. They don’t add anything to your rope length.
Flame Guy (Magma Soldier) – Fire: Like all other spear guys, these enemies will lunge at you with their weapons. Additionally, when they glow orange, they can burn through your rope. Wait until they cool off and change color; then swing in for the kill.
Frog (Water Monster) – Water: When the water level is high, these monsters will look like shadows in the water. They will chase after you if you enter their line of sight in the water, dragging you below the surface. On dry land or when the water level is lowered, they’ll look like tiny frogs and can be killed by stepping on them.
Guard (Terracotta Soldier) – Earth: They’re spear guys, so they’ll try to poke you. Wrap around them to kill them like the rest. However, you need to stay wrapped around them for a few seconds, allowing them to glow before they finally disappear. Go for the kill after they lunge at you.
Merman (Triton) – Water: Our last spear guys aren’t that special. They are faster than their brethren but will only lunge at you. Show them no mercy, and avoid getting them in the water.
Sand Worm – Earth: These worms hide in the sand, and a bullseye shadow will only chase after you once you enter their territory. Once the shadow is under you, the sand worm will raise up to snatch you. They’ll stay above ground for a few seconds, allowing you to wrap around them.
Witch (Burning Lady) – Fire: Burn the witch by passing your rope over her. After that, she’s on fire and will chase after you, presumably for lighting her on fire. She’ll burn your rope if you stop running from her, and she’ll naturally burn to death if you manage to escape her for four or five seconds.
We’re officially done with half of the houses in Red Rope, and now we’re face with the following question: are we half-full kind of people or half-empty? Put more relevantly, are we the people who look at the halfway marker and think we’re inching ever nearer to the end? Or are we the people who think about all the work they had to do to get to the midway point and gripe about having to do the same amount of work again?
Player 2 sits in the former camp, and I dwell in the latter. This video series has been fun to make, but some of these videos have drained the life out of me (i.e. the previous house). I’m also a curmudgeon who thinks life is about the end and not the journey. With the Brain School, I recall how writing the middle portion was such a slog. I was already envisioning the ending, but the whole lead up to that point still felt like a desert with no determinable end.
Part of the pressure has been the self-imposed deadline. Player 2 and I want to host a contest related to Red Rope in November, so we want all the videos out by then. You’d think four months would be more than enough, but my motivation runs on solar power in the dark winter. I’ve got to publish a review by then as well, and I don’t know if this slow-and-steady thing is going to let me beat the hare.
We’ll see. We’re at our “hump video,” and I’ll be damned if I call it anything else.
I don’t particularly feel like writing anything today. Here is the House of Water after a long hiatus. More content will follow on a to-be-determined timeline.